

The KDS Stereo Credenza started like many of the pieces I work on as a mock-up, made from 1/2 inch plywood. Above is the finished work, while the photo below is what I decided on after multiple attempts and changes a few months ago.


Finding the rift sawn parts of the board for making veneer for the cabinet.

Once I've isolated the grain that I'm looking for, I edge glue the veneers to achieve one large piece with only the preferred grain pattern.
Kevan and I spoke often in the early stages, tweaking the design and function of the cabinet. He wanted the cabinet to be lighter in color, so it wouldn't clash the with Gumwood wainscot that he has in his house. My initial thought was some very light Ash - as seen above - and I made up some panels of that we very tight and straight in grain. As it turned out, I decided that Ash was not the wood I wanted to use. It seemed too coarse - and while the grain was uniform - it was still too present in the wood. I wanted a wood that was light, but that had very little difference in the grain lines. I settled on Sycamore - which I was able to find in Eugene after a few days of scouring the internet and local wood merchants - looking for an appropriate light wood. The sapwood of Sycamore is almost white, and the grain is vey minimal, perfect for what I was looking for.

These Sycamore doors are a nice example of the light grain.

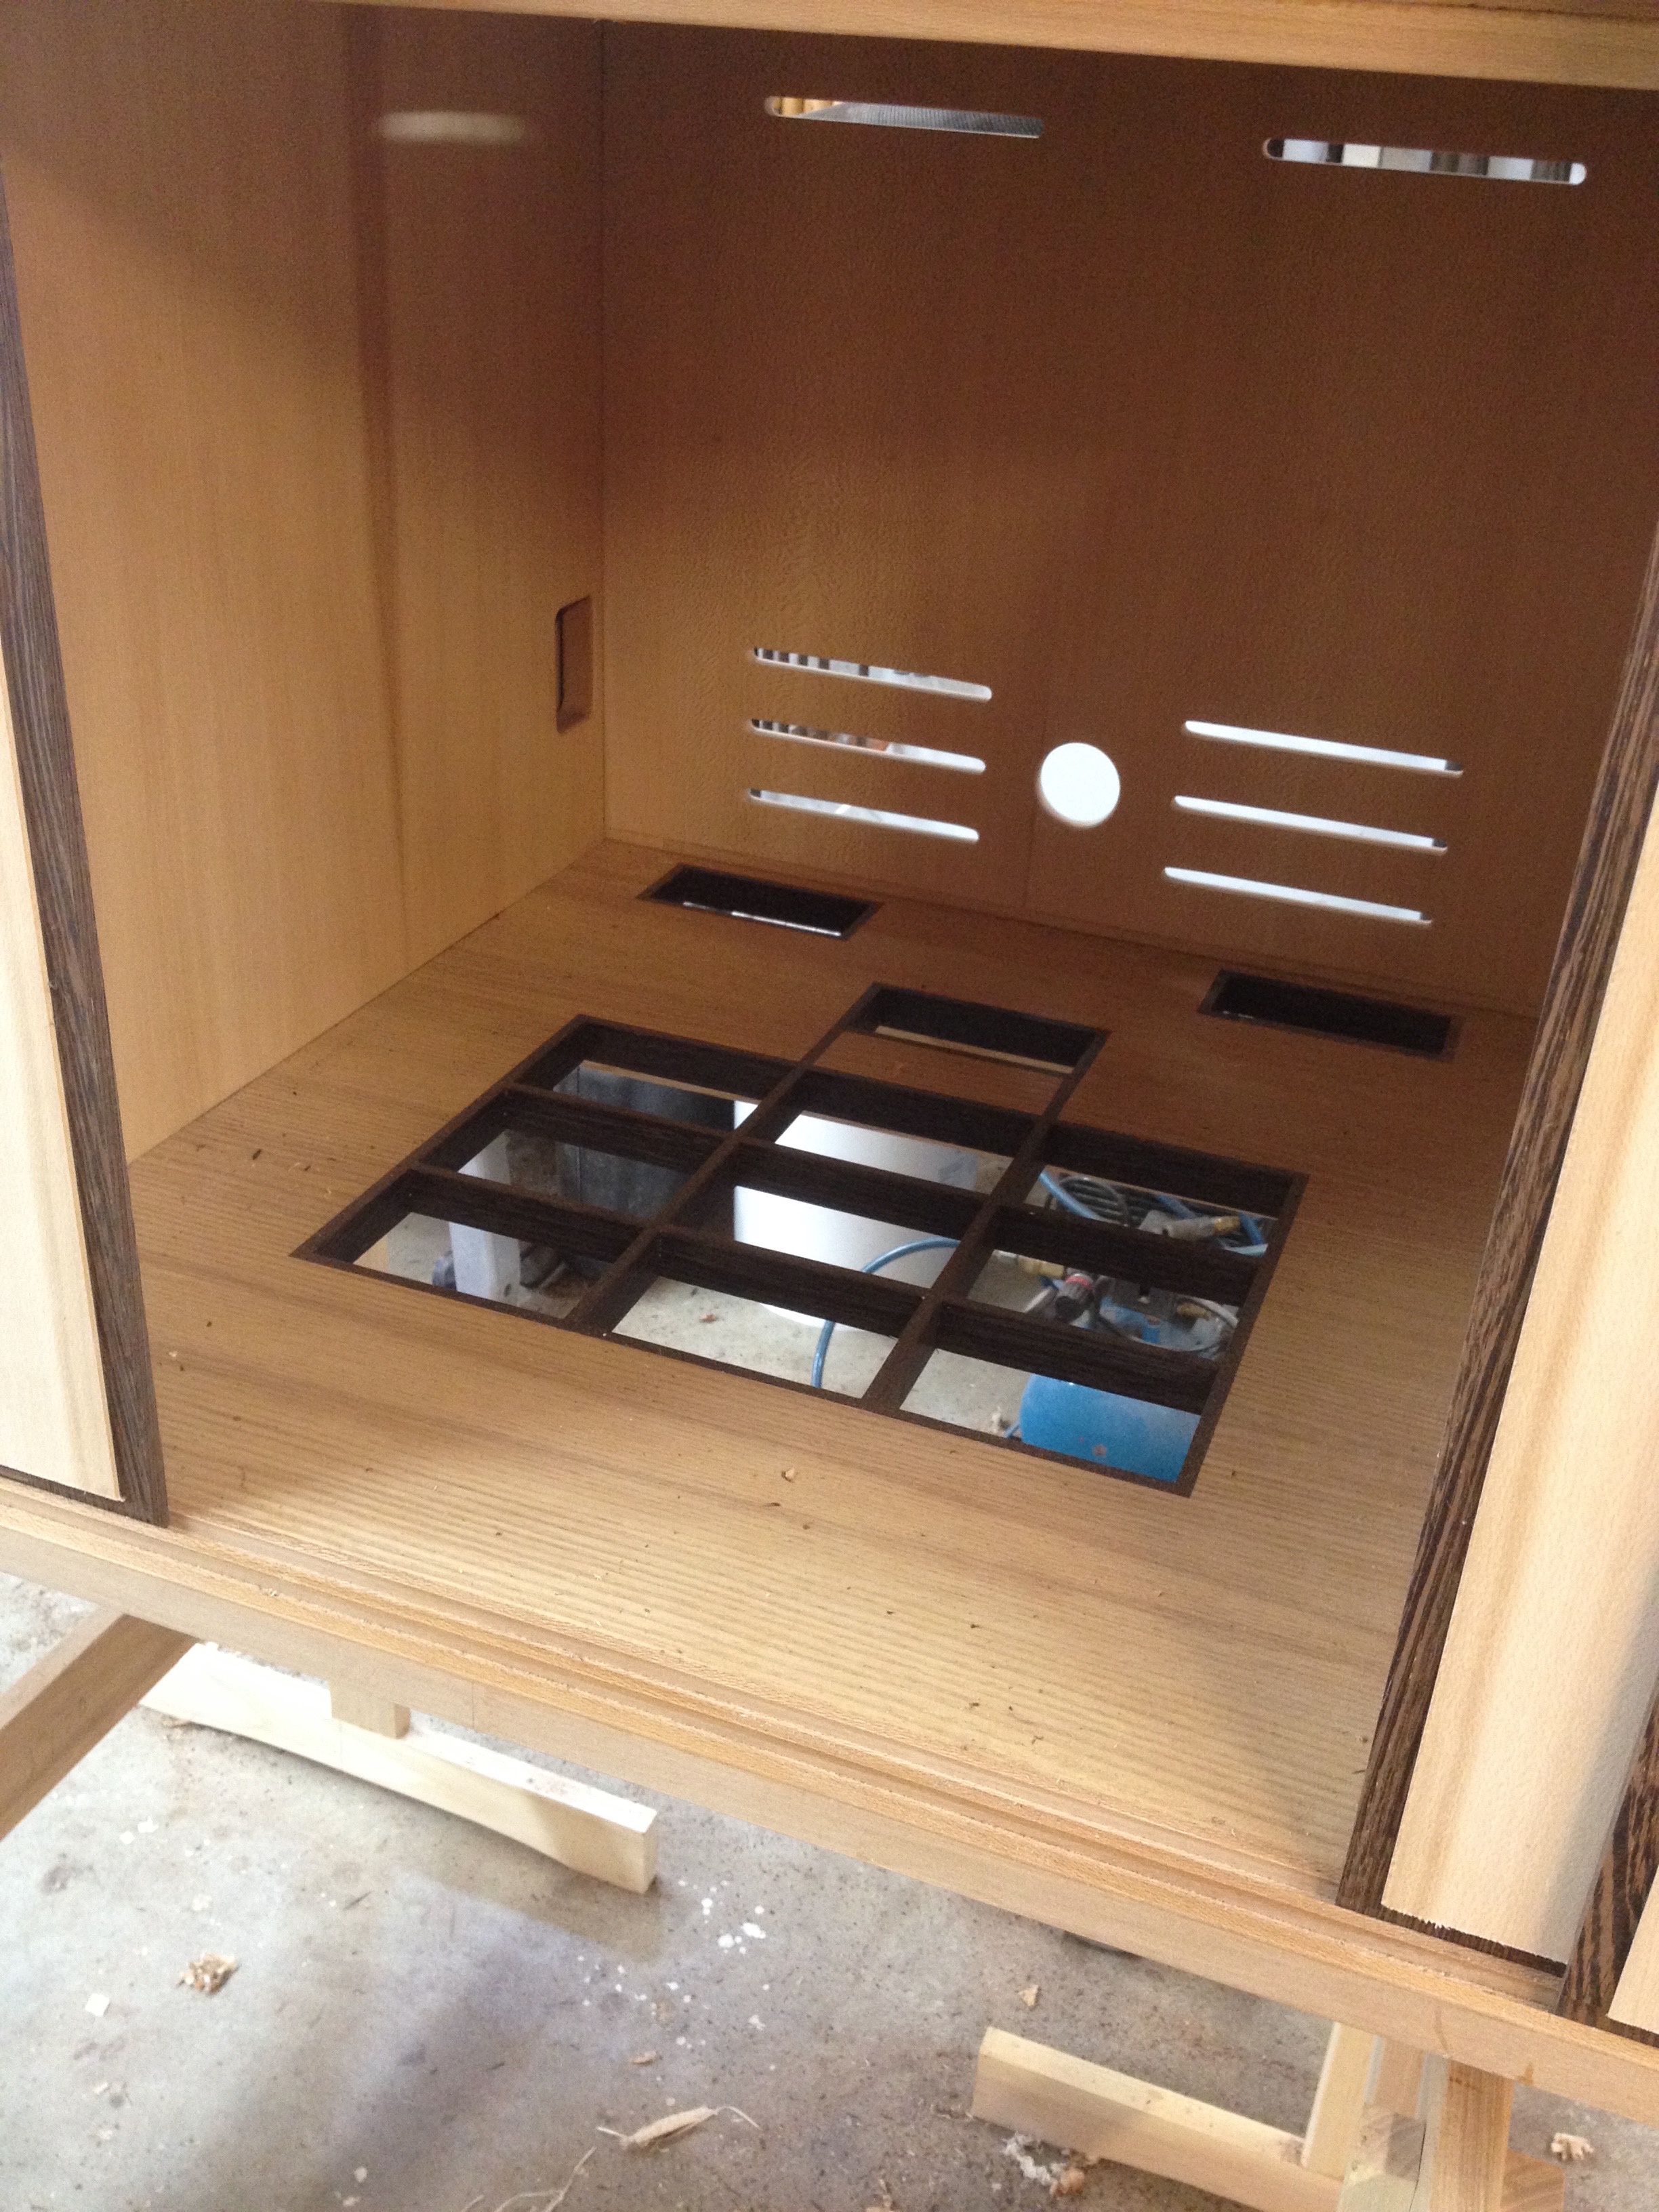
The purpose of this cabinet is three-fold: to house the turntable, the records, and the power amp. The power amp puts off a tremendous amount of heat, and the manufacturer recommends ventilation under the amp. The trouble is that the amp also weighs almost 100 pounds, so I was worried about the idea of removing too much of the structure that had to support that amp to service the venting needs. Also, the above picture cracks me up (in hindsight) - what is so difficult about drawing to scale?

I chose to make to do Wenge (the complimentary wood) lattice. This way I could allow for air movement, but maintain some of the structural integrity of the base. The lower two holes are for power and audio cables to be fed through.
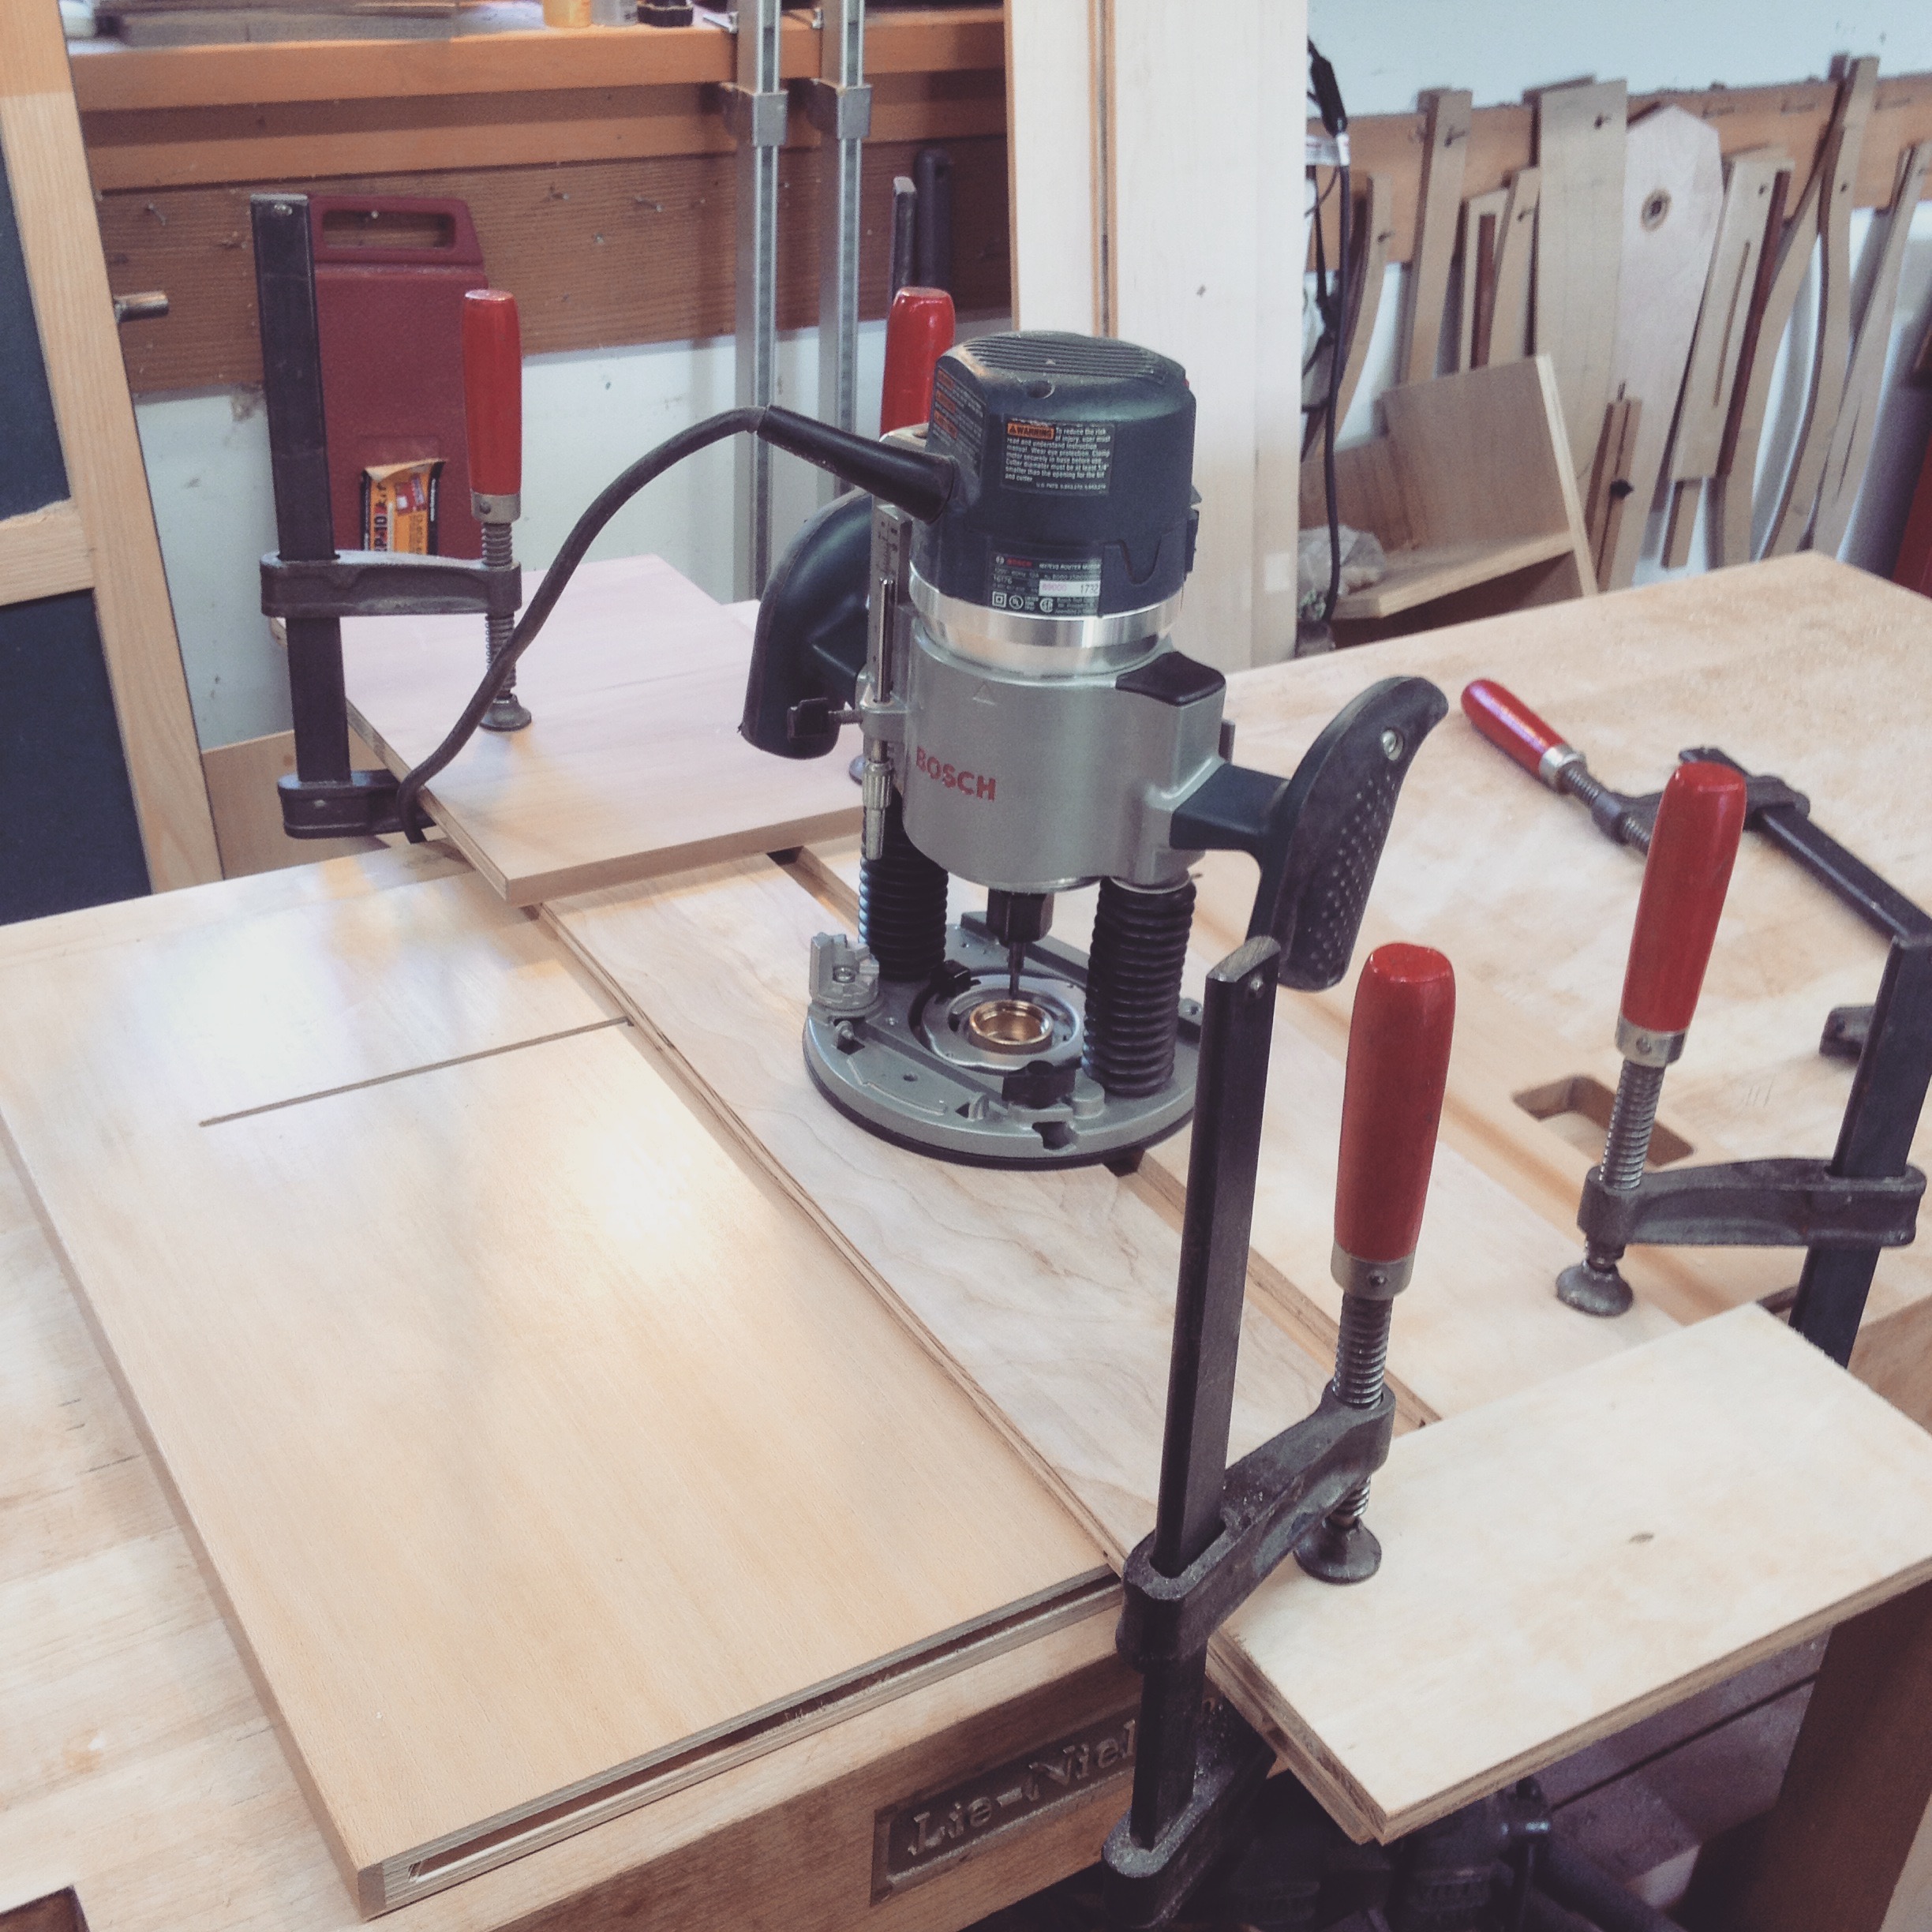
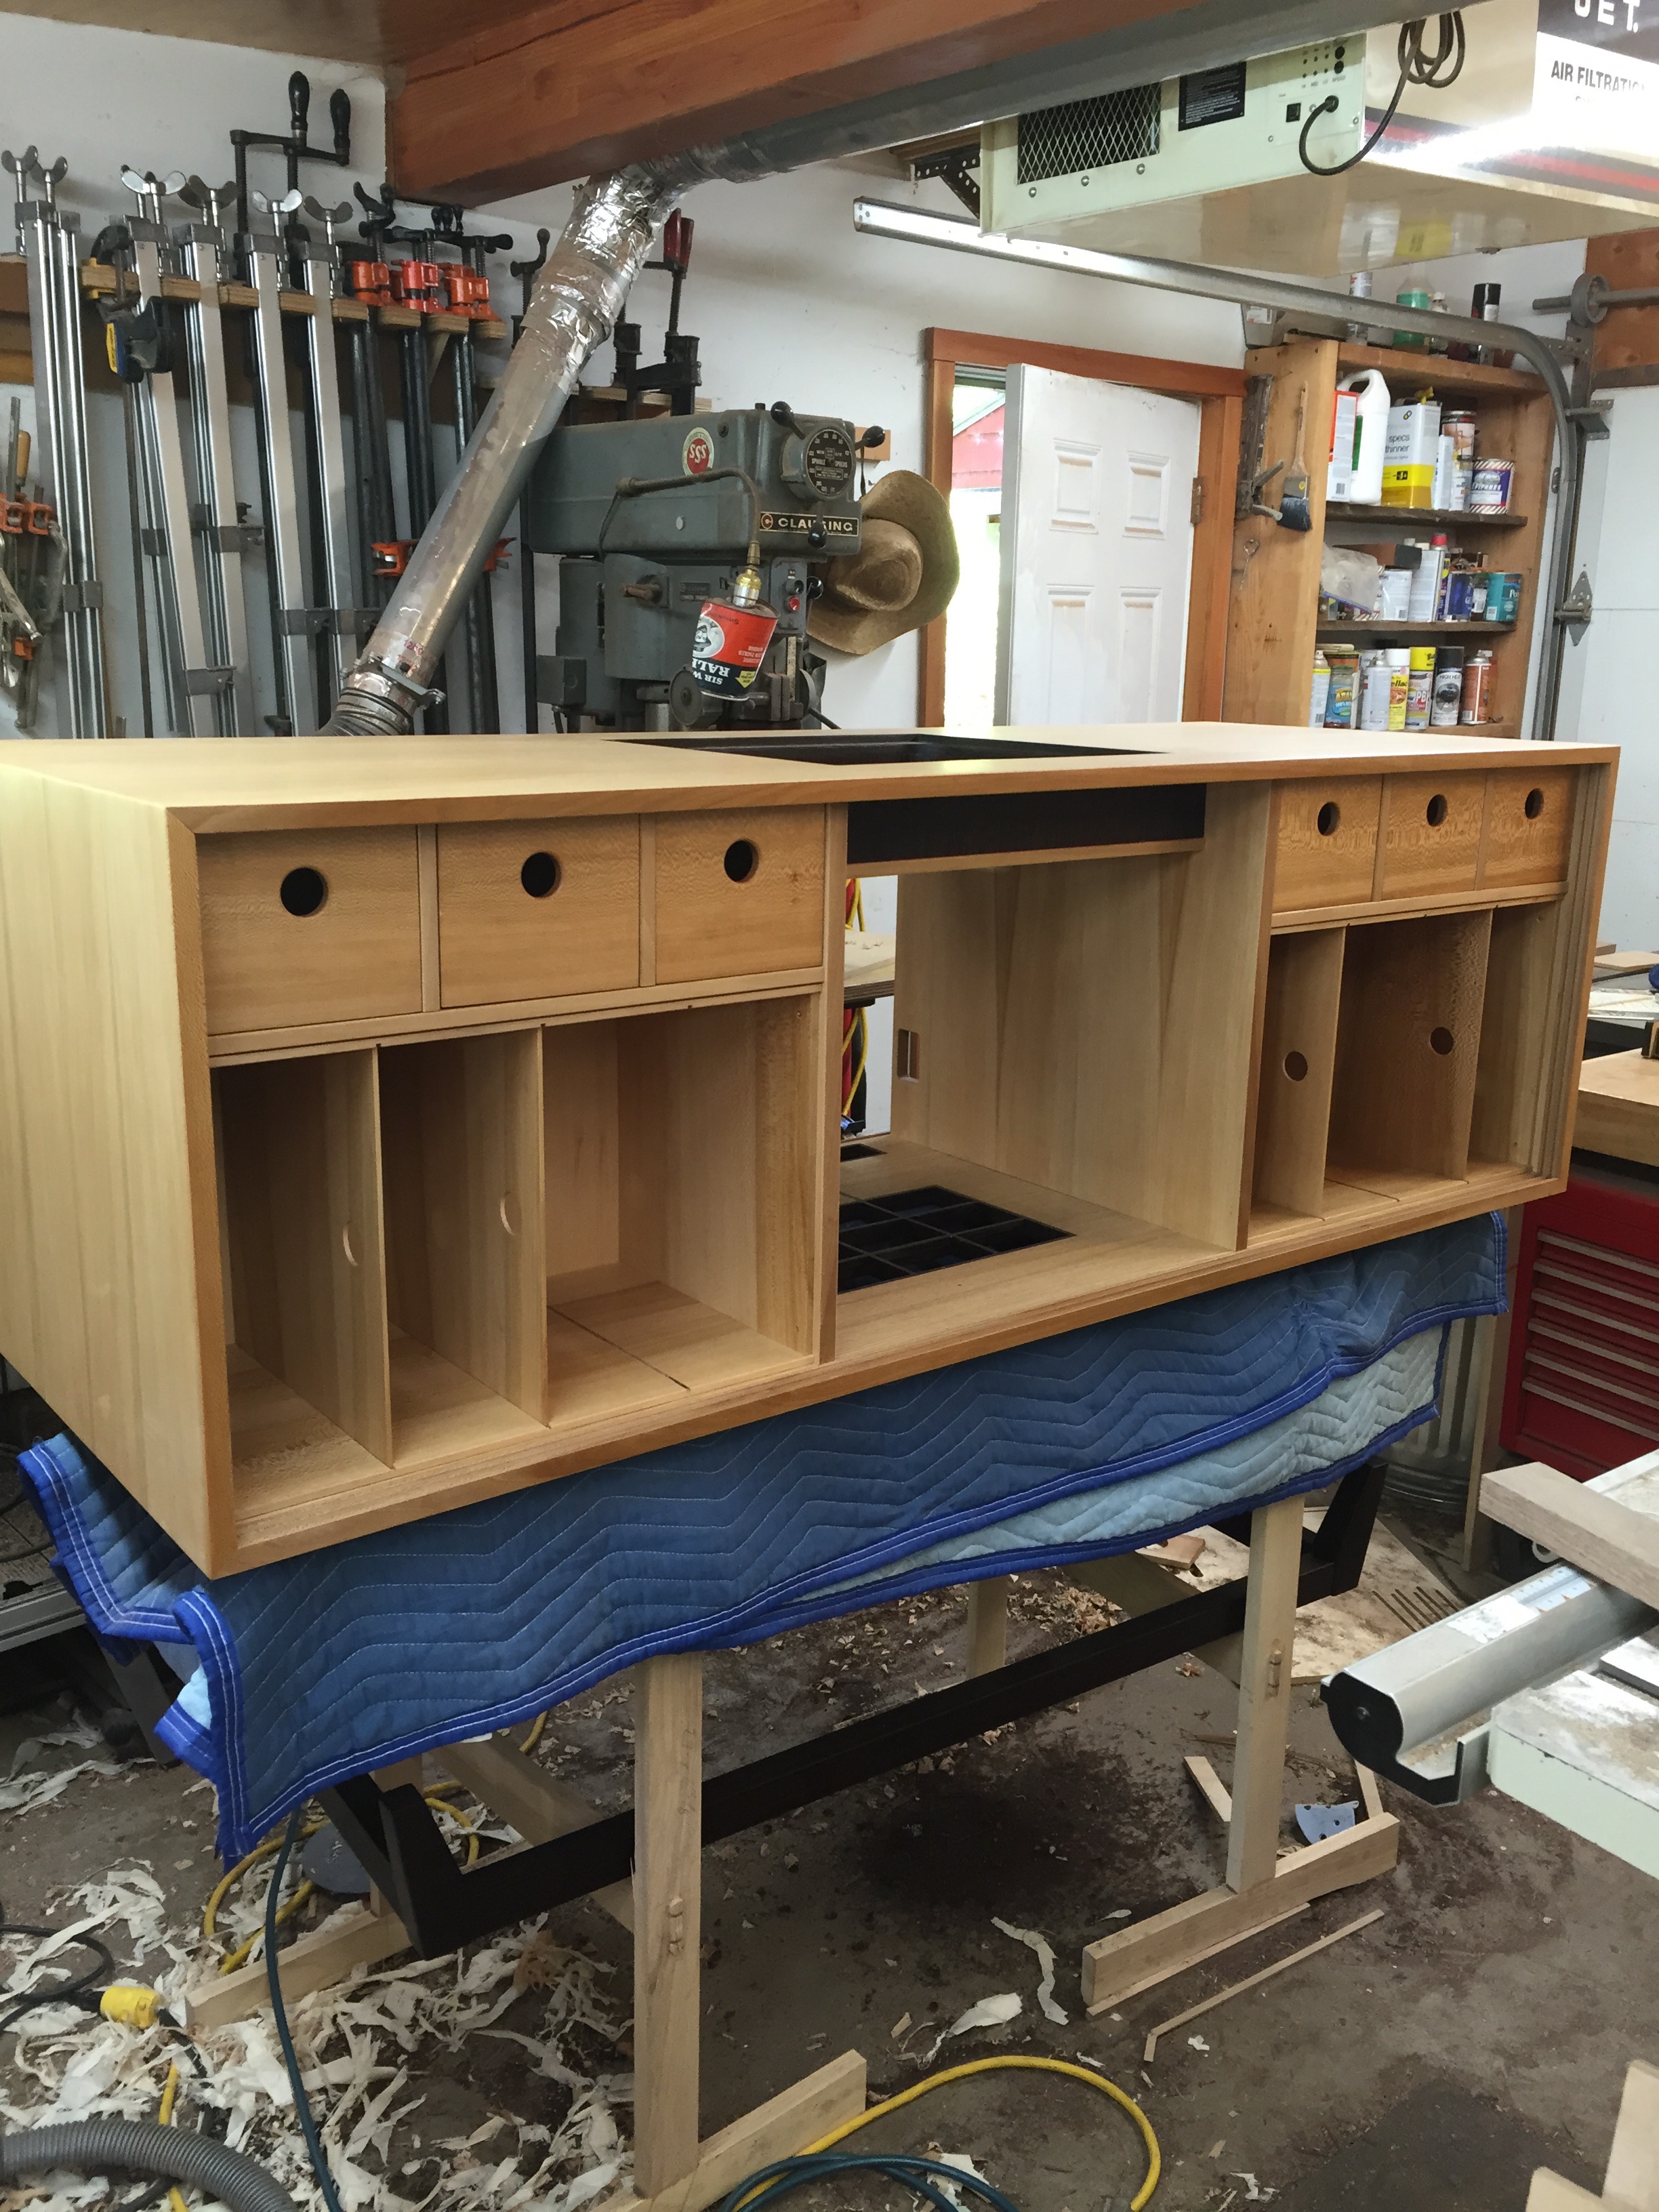
Prior to glue up, I needed to cut joinery in all of the partitions and the cabinet. I wanted some flexibility to adjust things slightly, so I cut long mortises and used multiple floating tenons along them. This allowed me to move partition pieces forward and backward into line.

The glue-up.
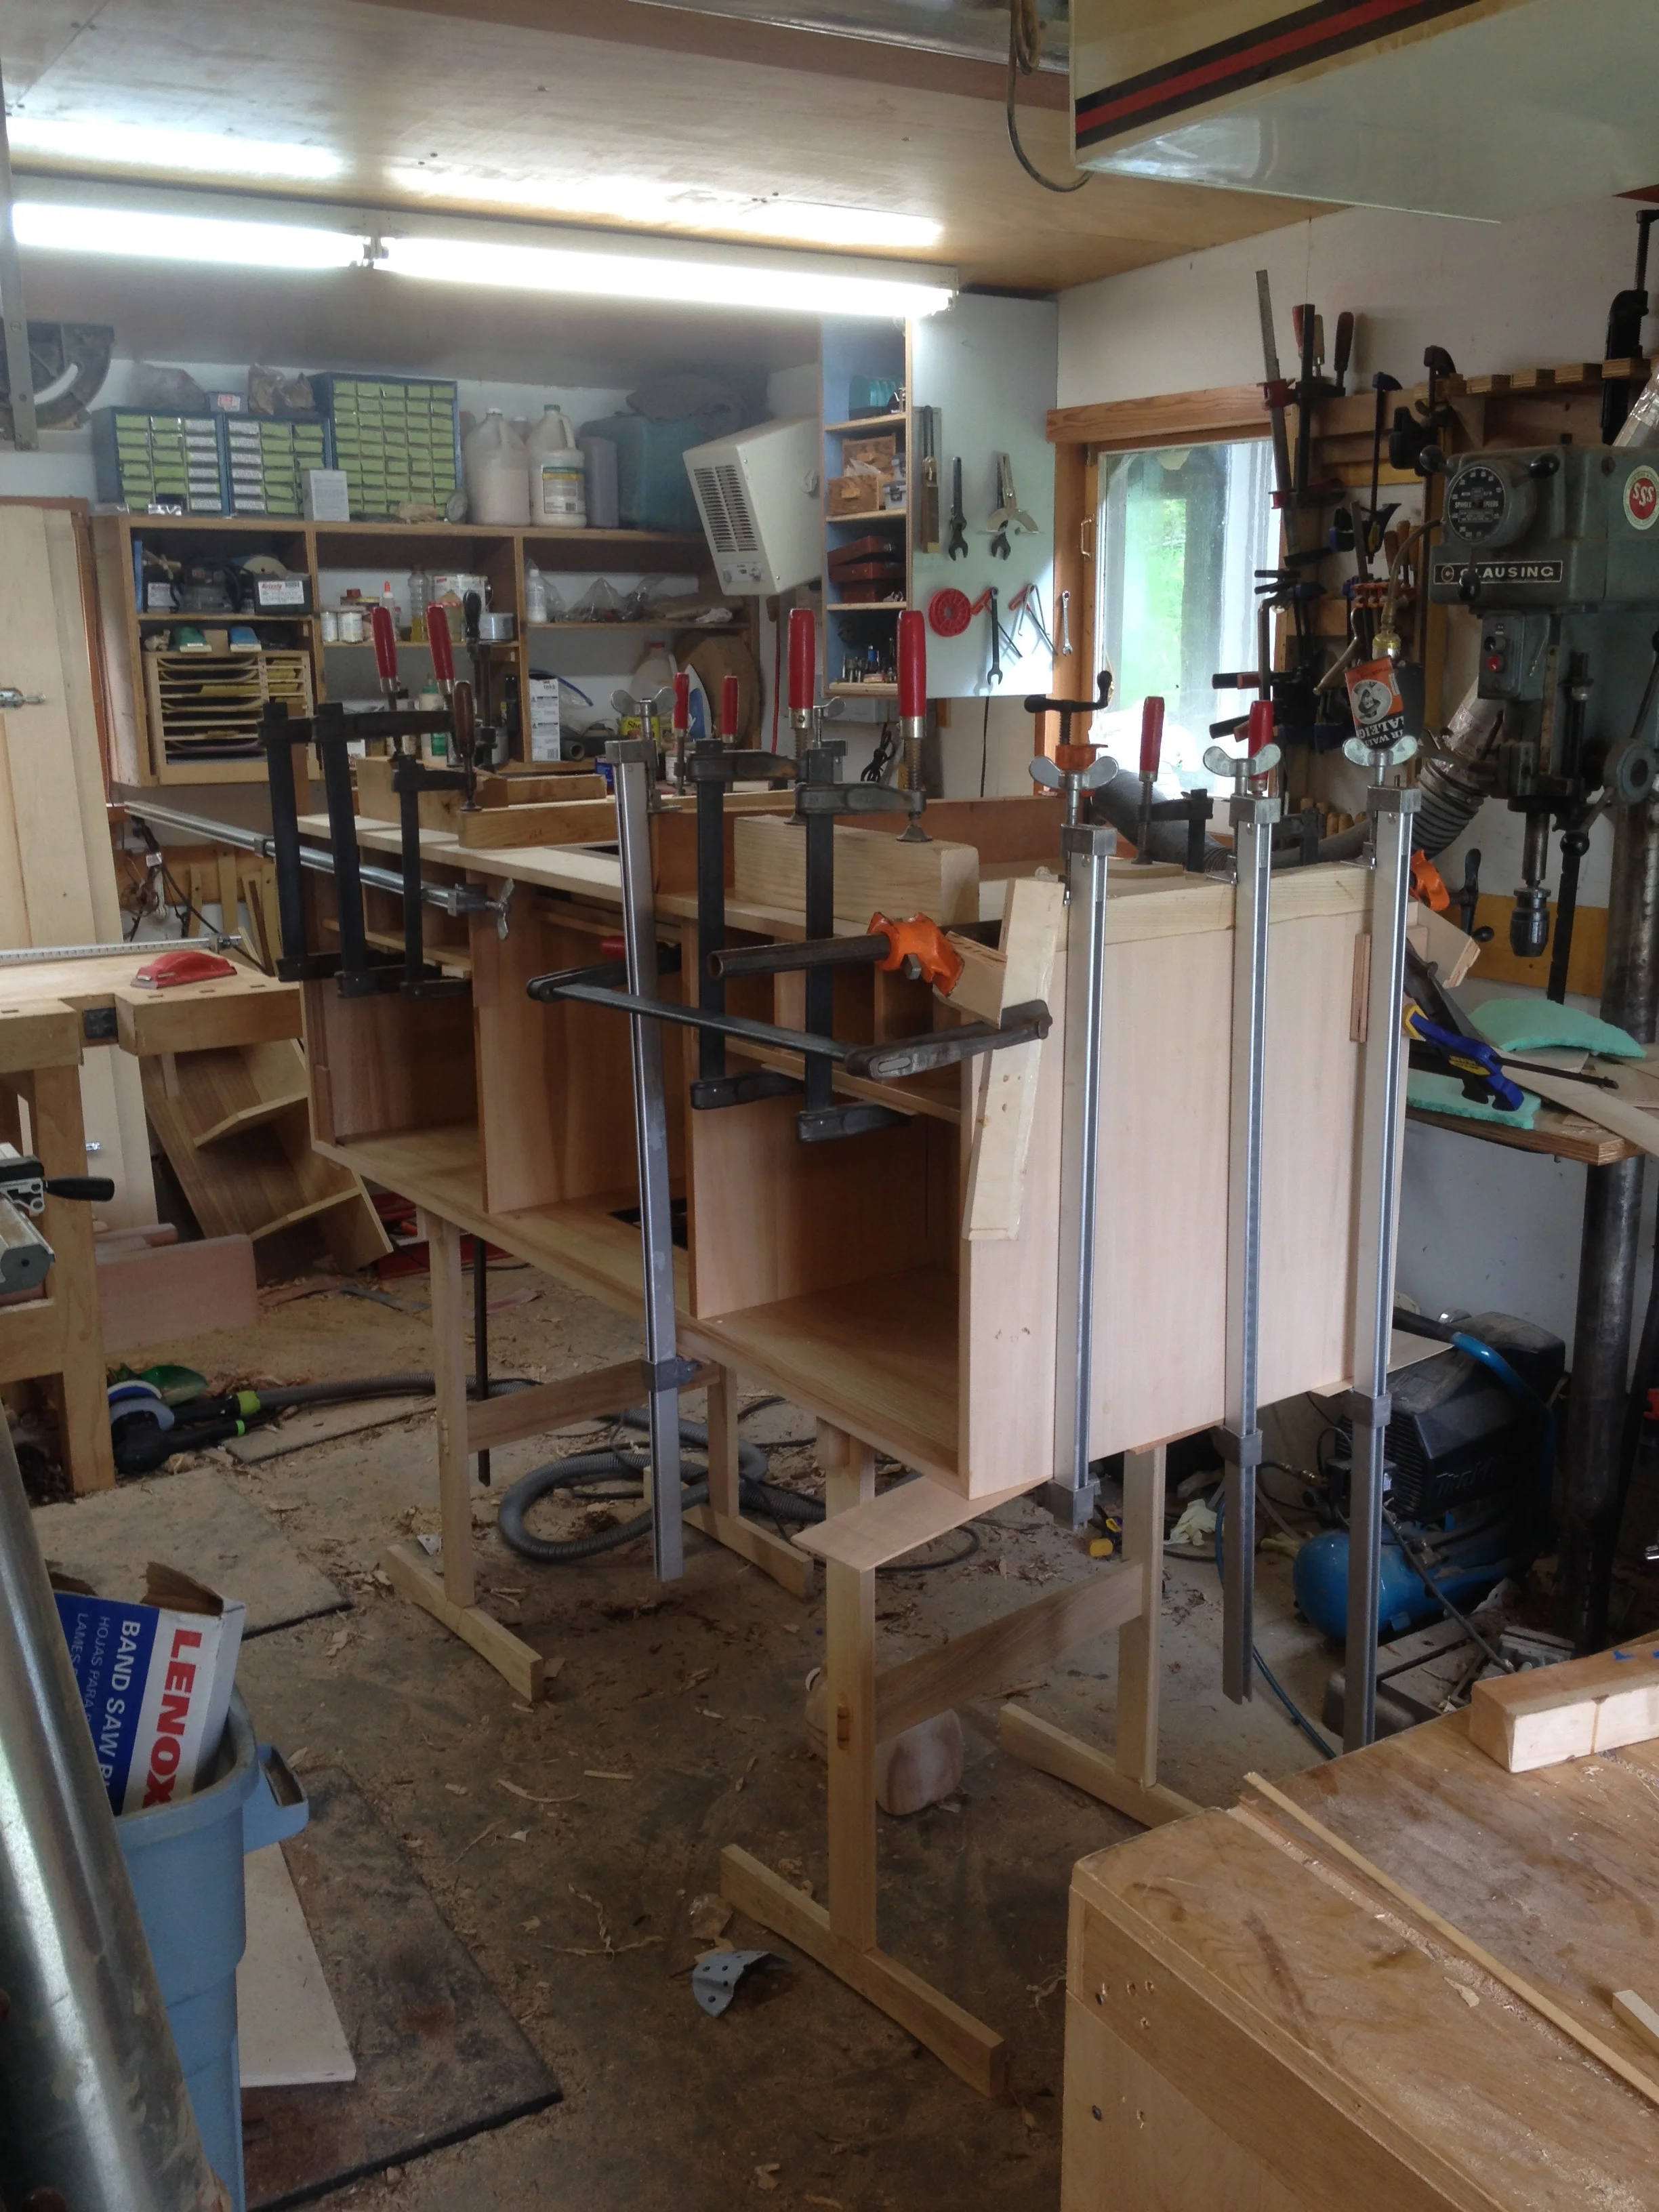
The final stage of the glue-up.
The cabinet has now been glued up, and I needed to turn my attention to the record player insert. We initially hoped to drop the turntable into a fitted hole in the top of the cabinet, but a power cord that came directly out the back of the unit prevented that. I still wanted to do something cool for the spot though - and made "sunburst" of Wenge.
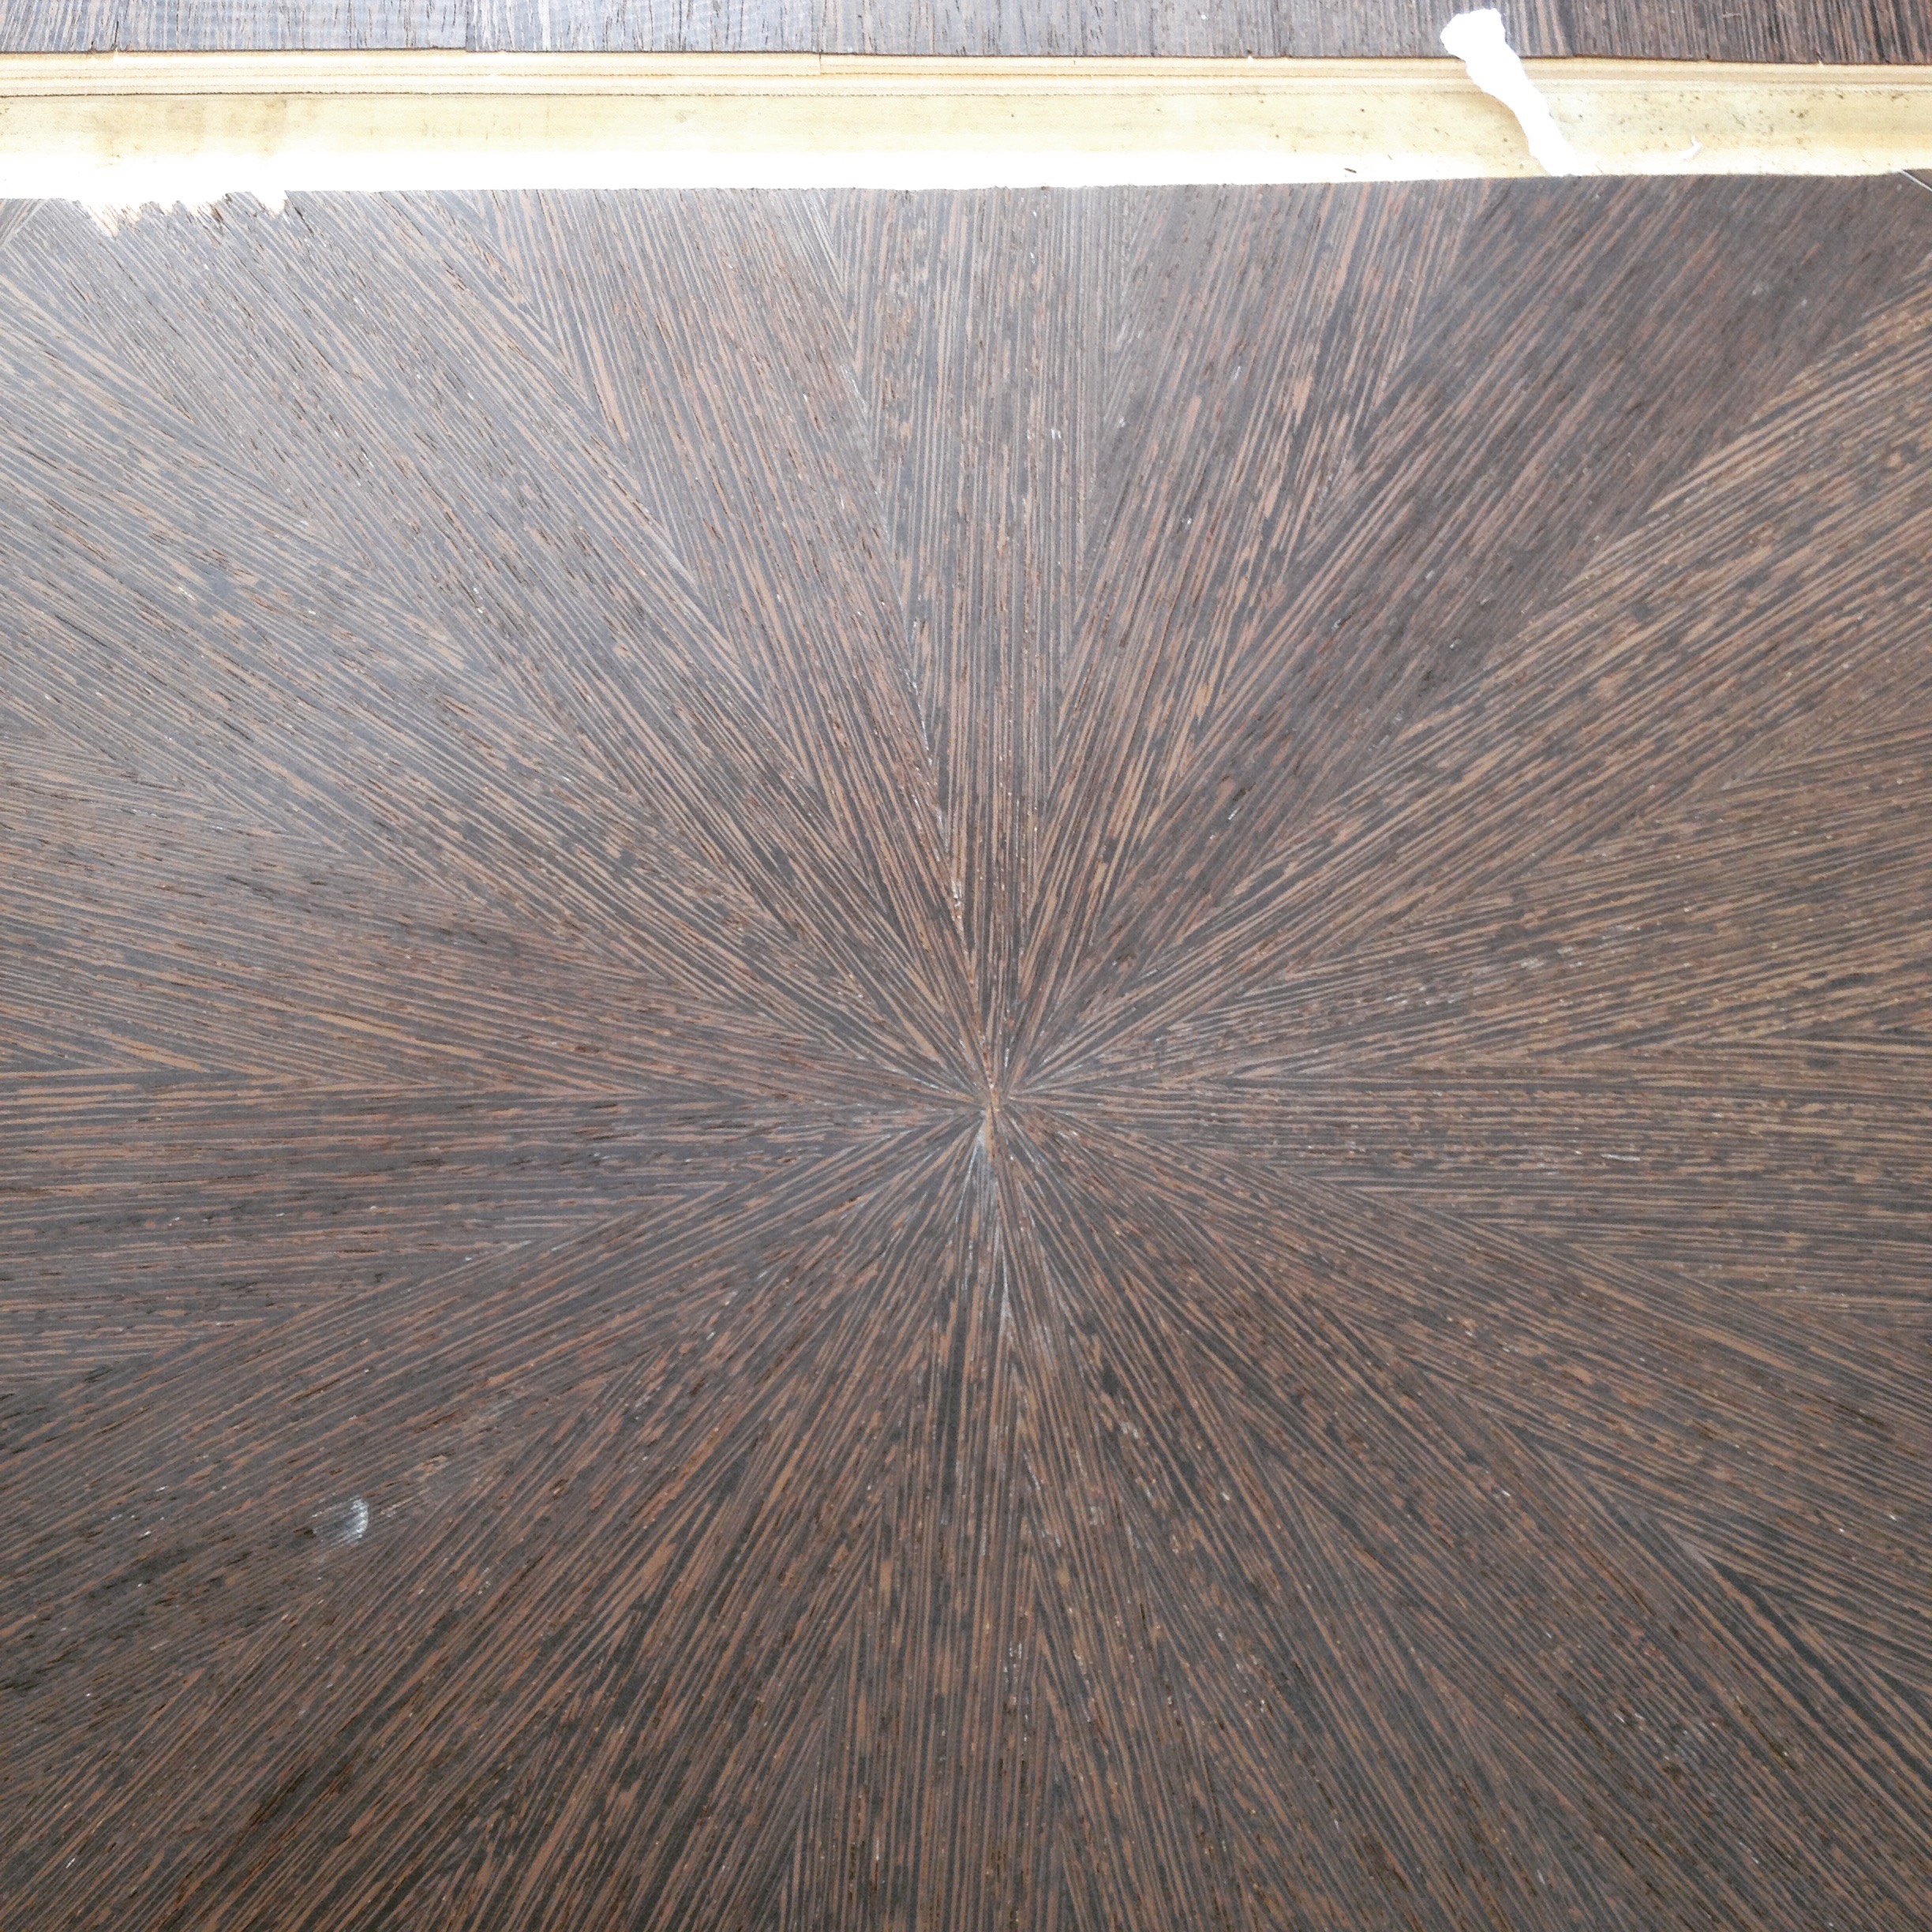
The sunburst!
The turntable space with the Wenge sunburst base. You can also see the lip that will house the lid.

With the cabinet glued up and the interior pre-finished, I could now turn my attention to some handwork. The cabinet has 6 drawers, and I chose some very wonderfully grained (but darker) quarter-sawn Sycamore. The grain almost has bubbles floating across it, although when I was delivering the cabinet, someone said they looked like sound waves (I'll go with that).
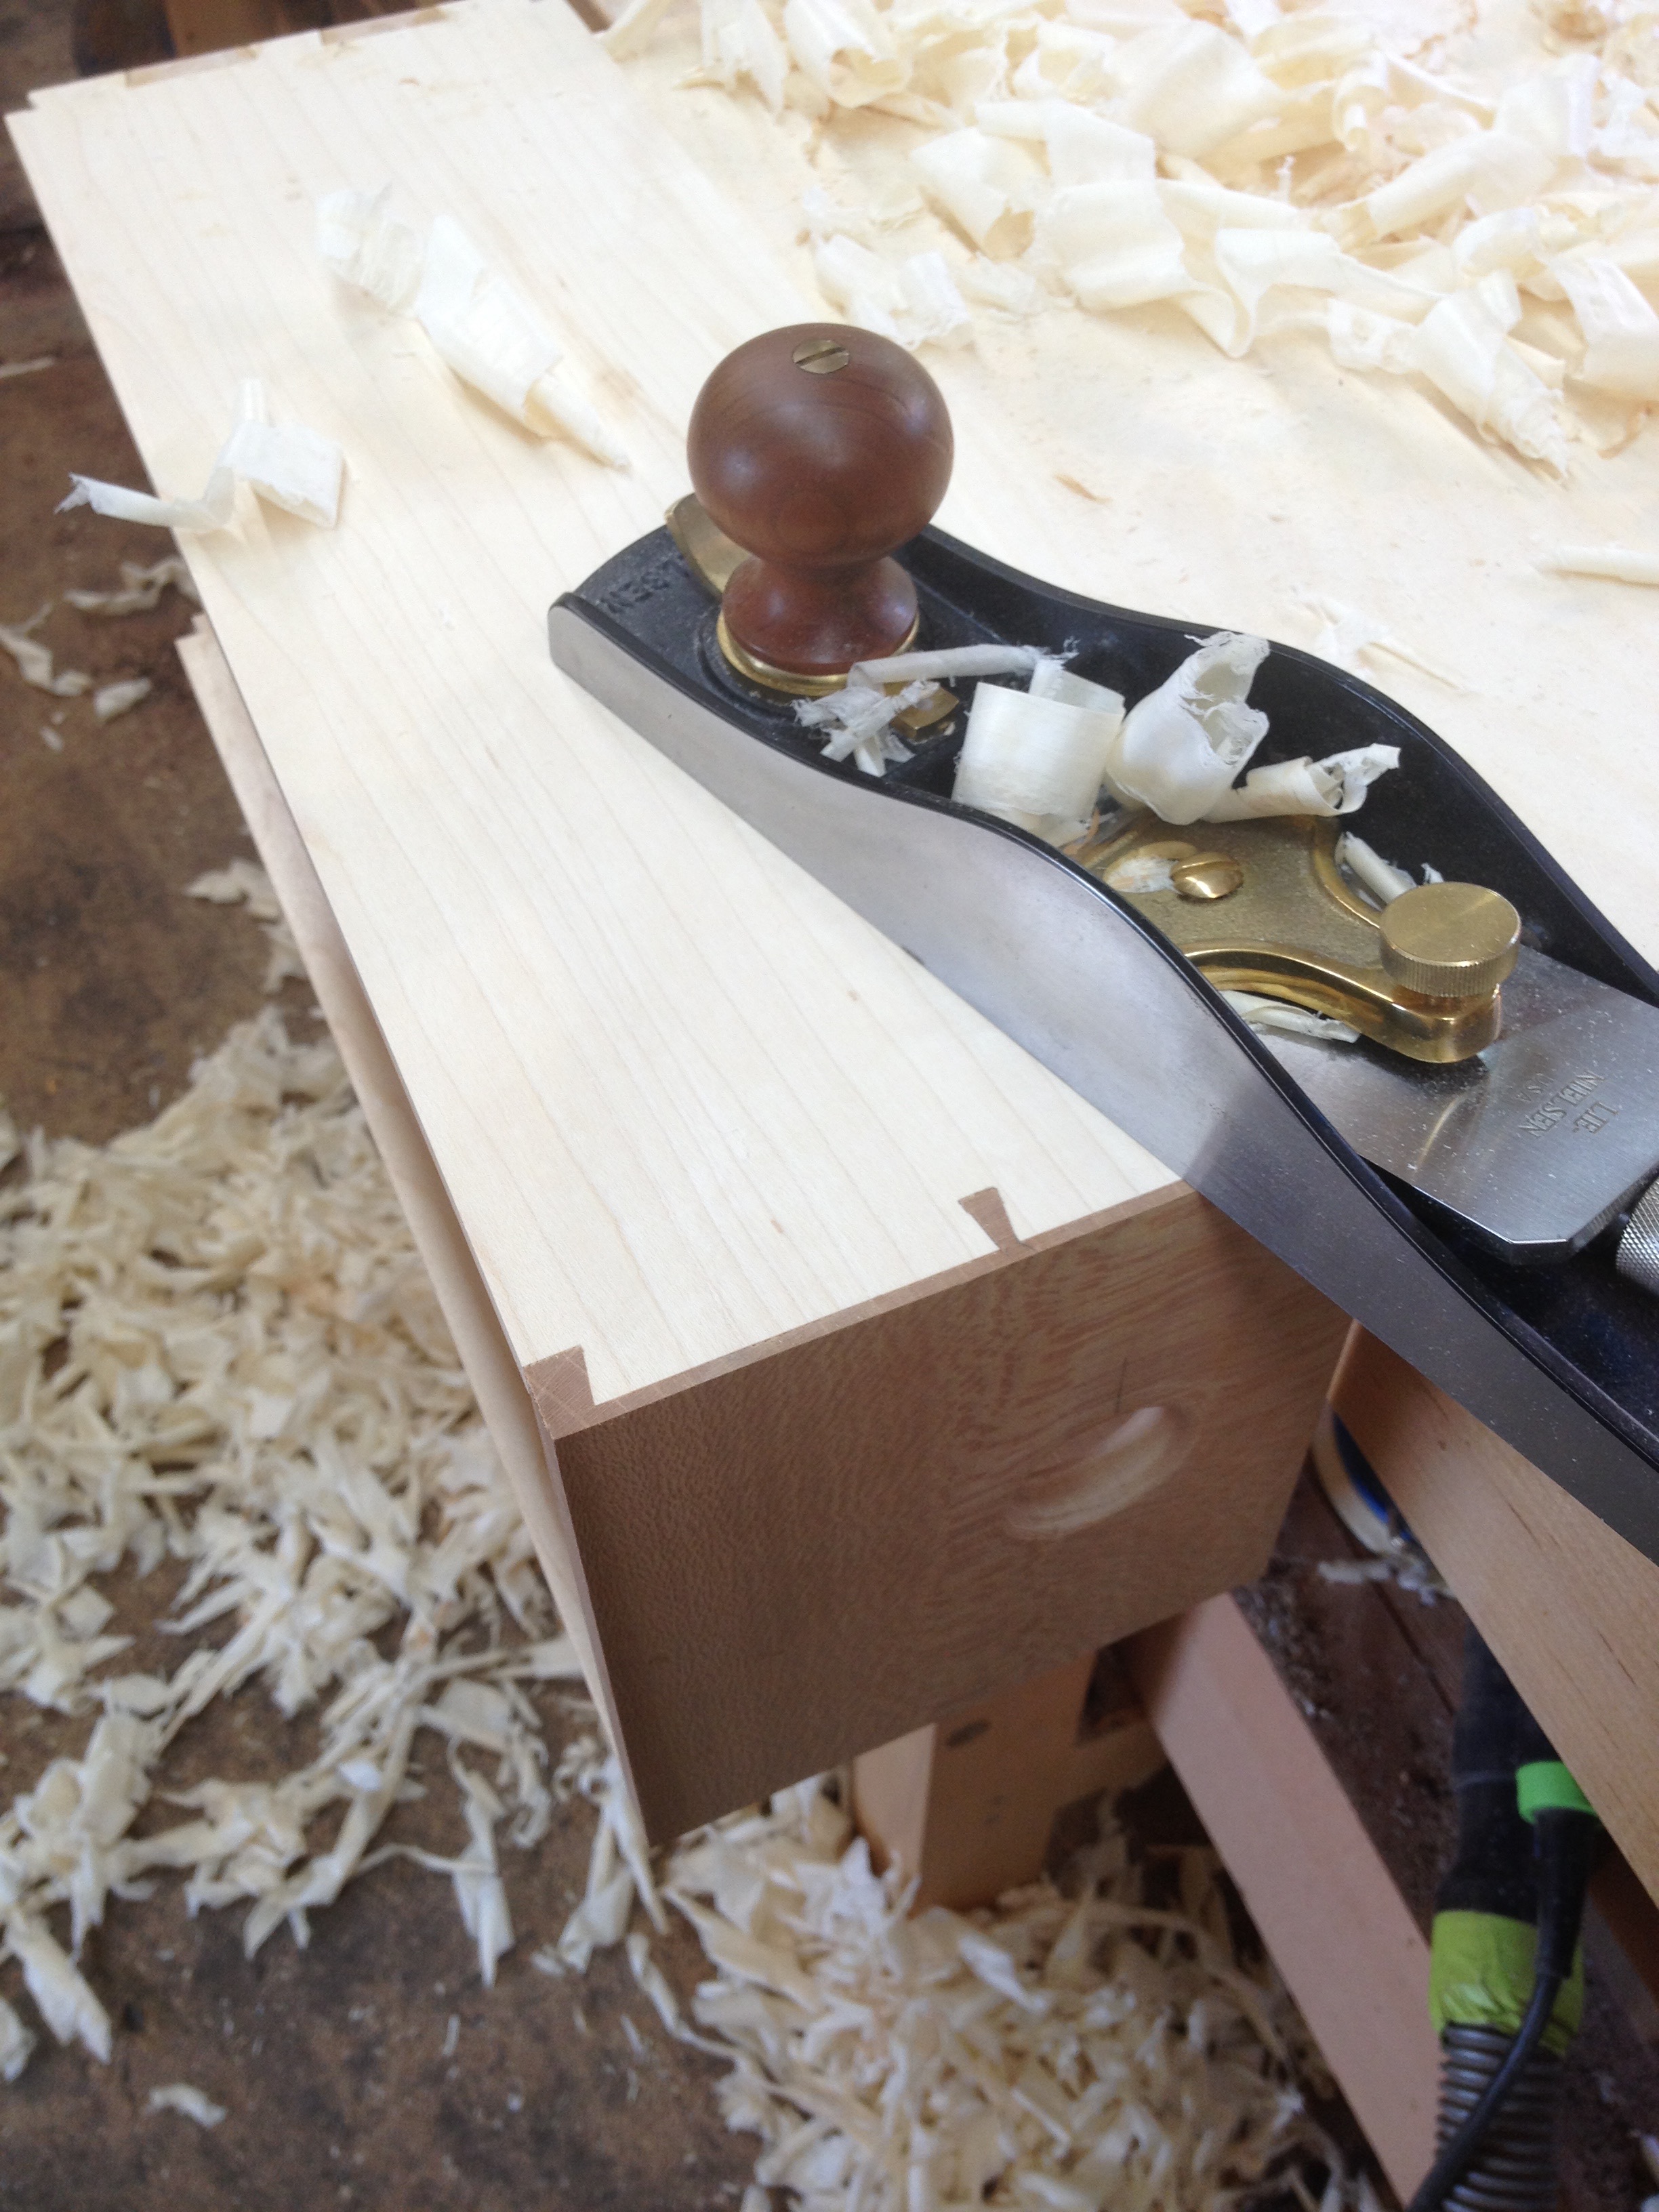
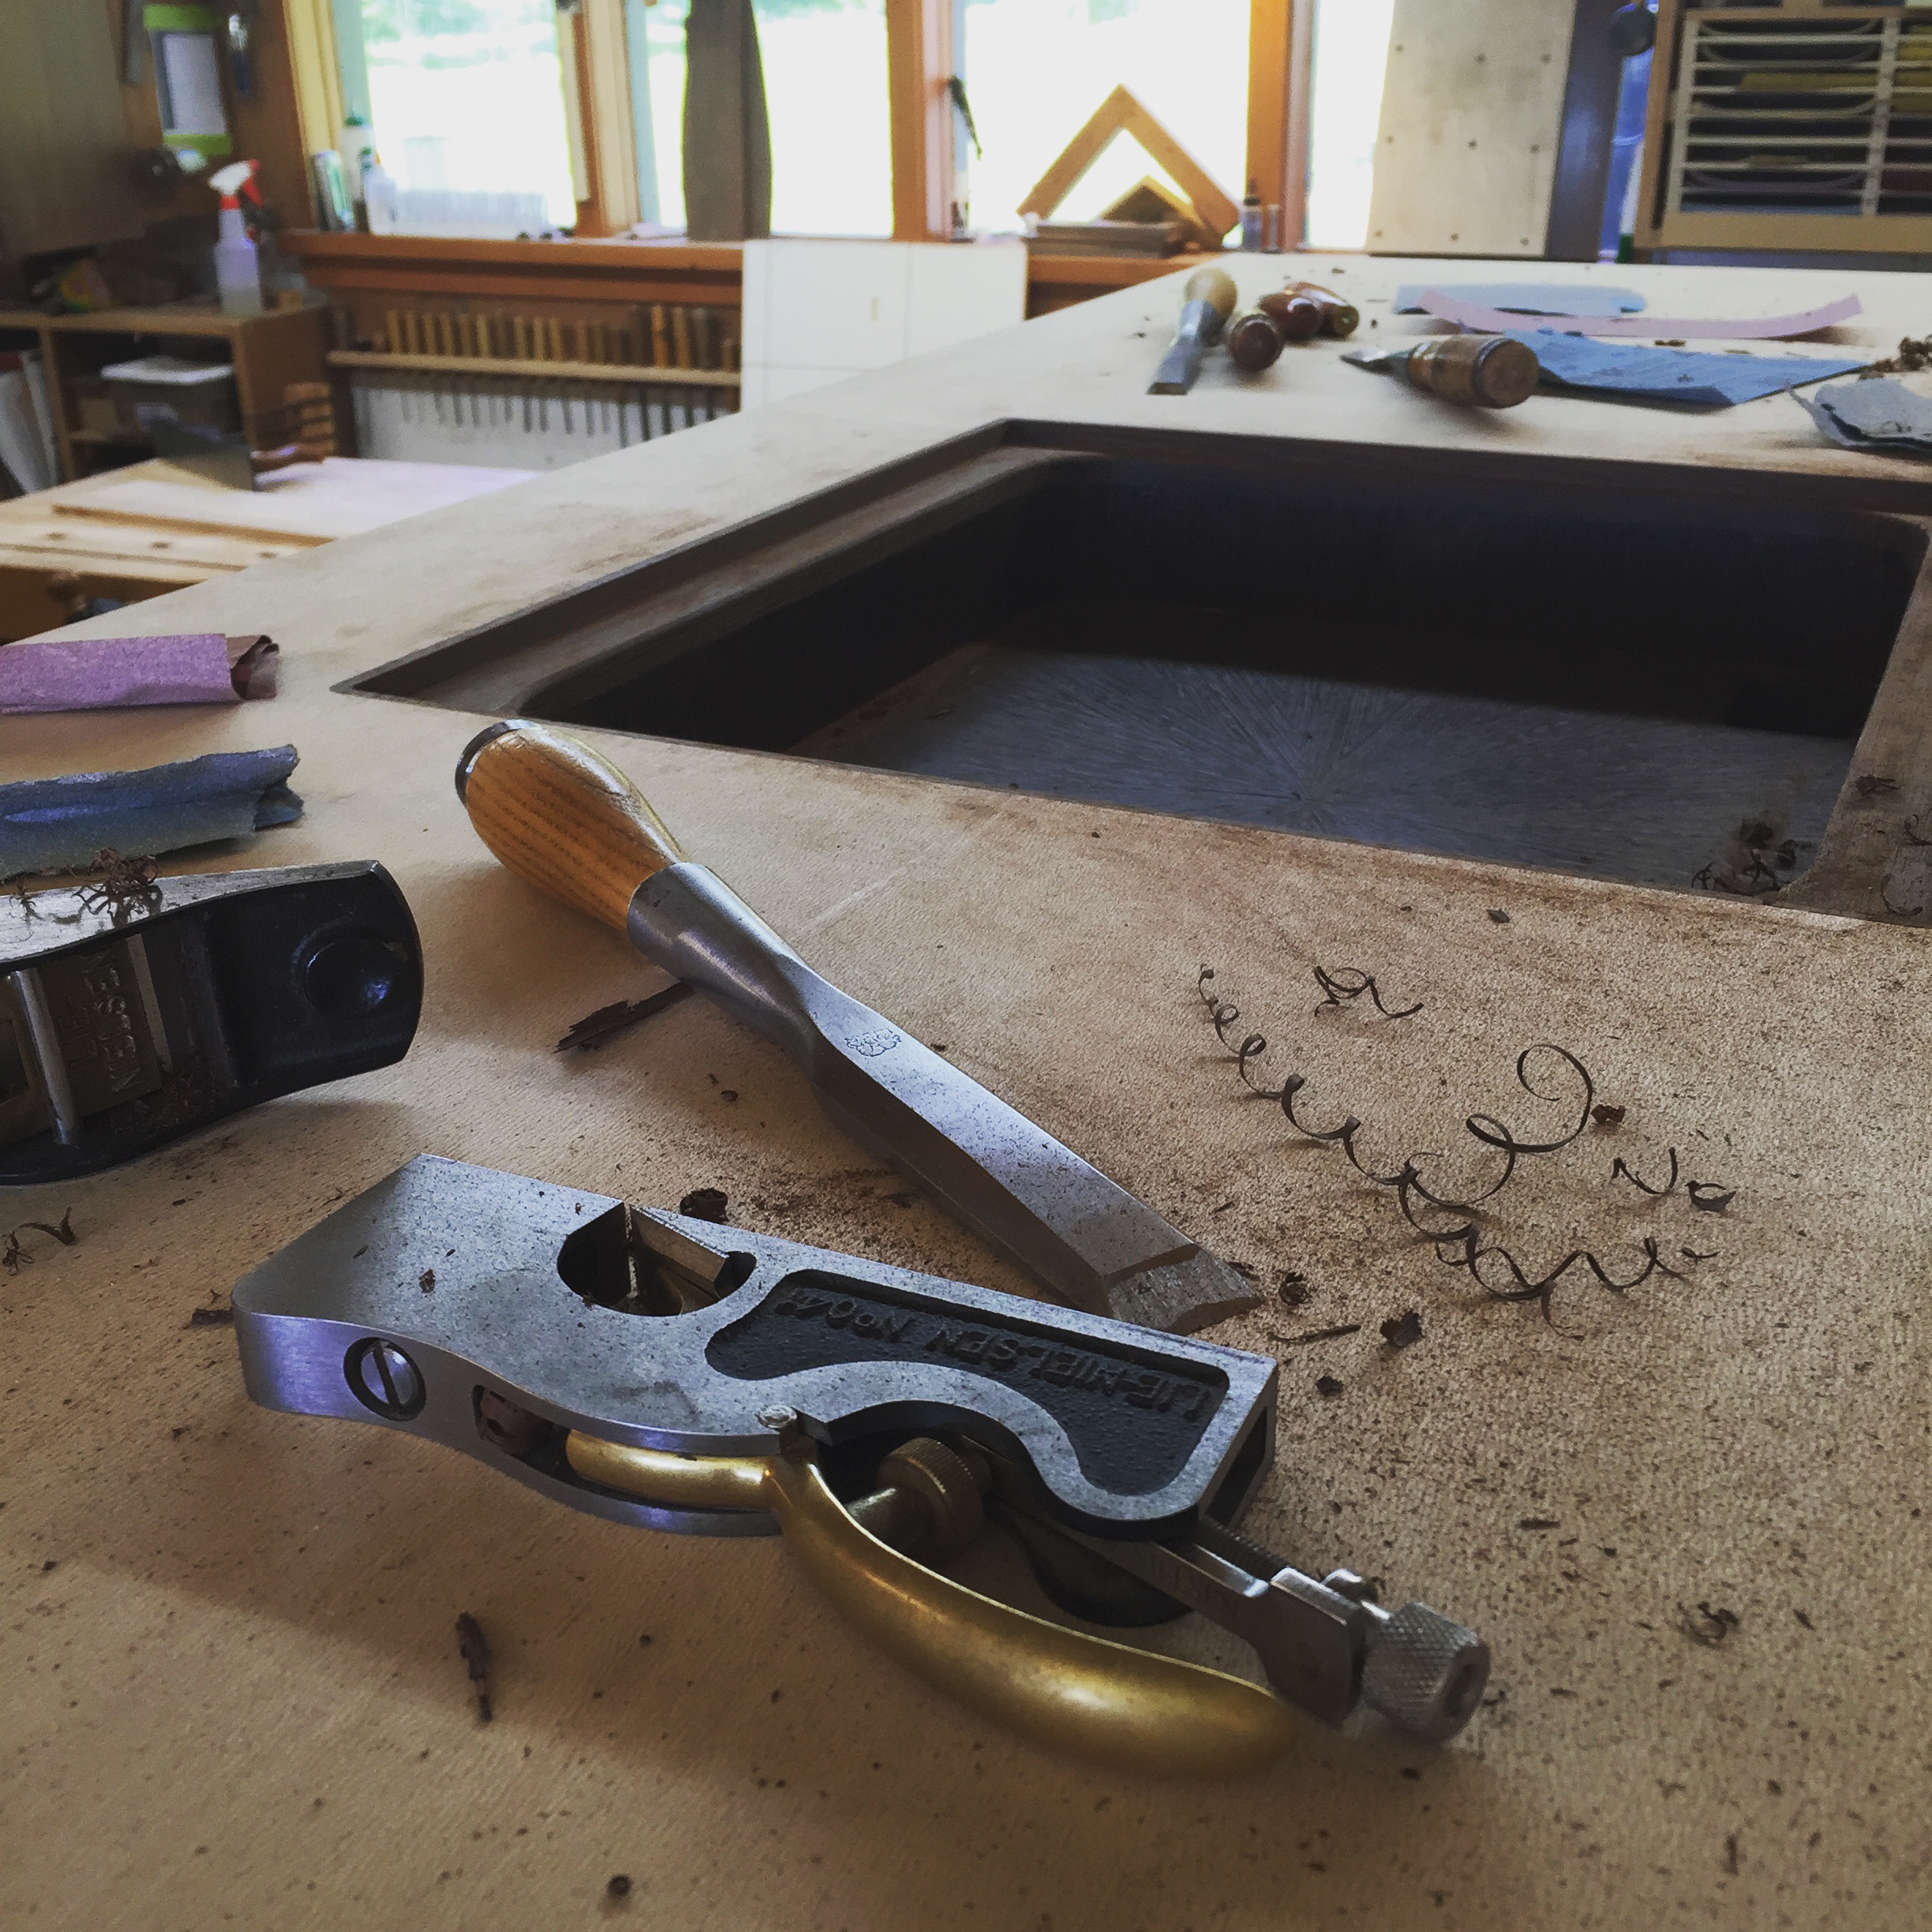
Cleaning up the dovetail with my low angle block plane.

The base of the cabinet (as well as on the other contrasting elements) is made from Wenge, a very dark African wood. With grain, you always want to think about how it will flow, after close inspection, I decide which piece will be which foot based on the direction of the grain. Here is how I label them.
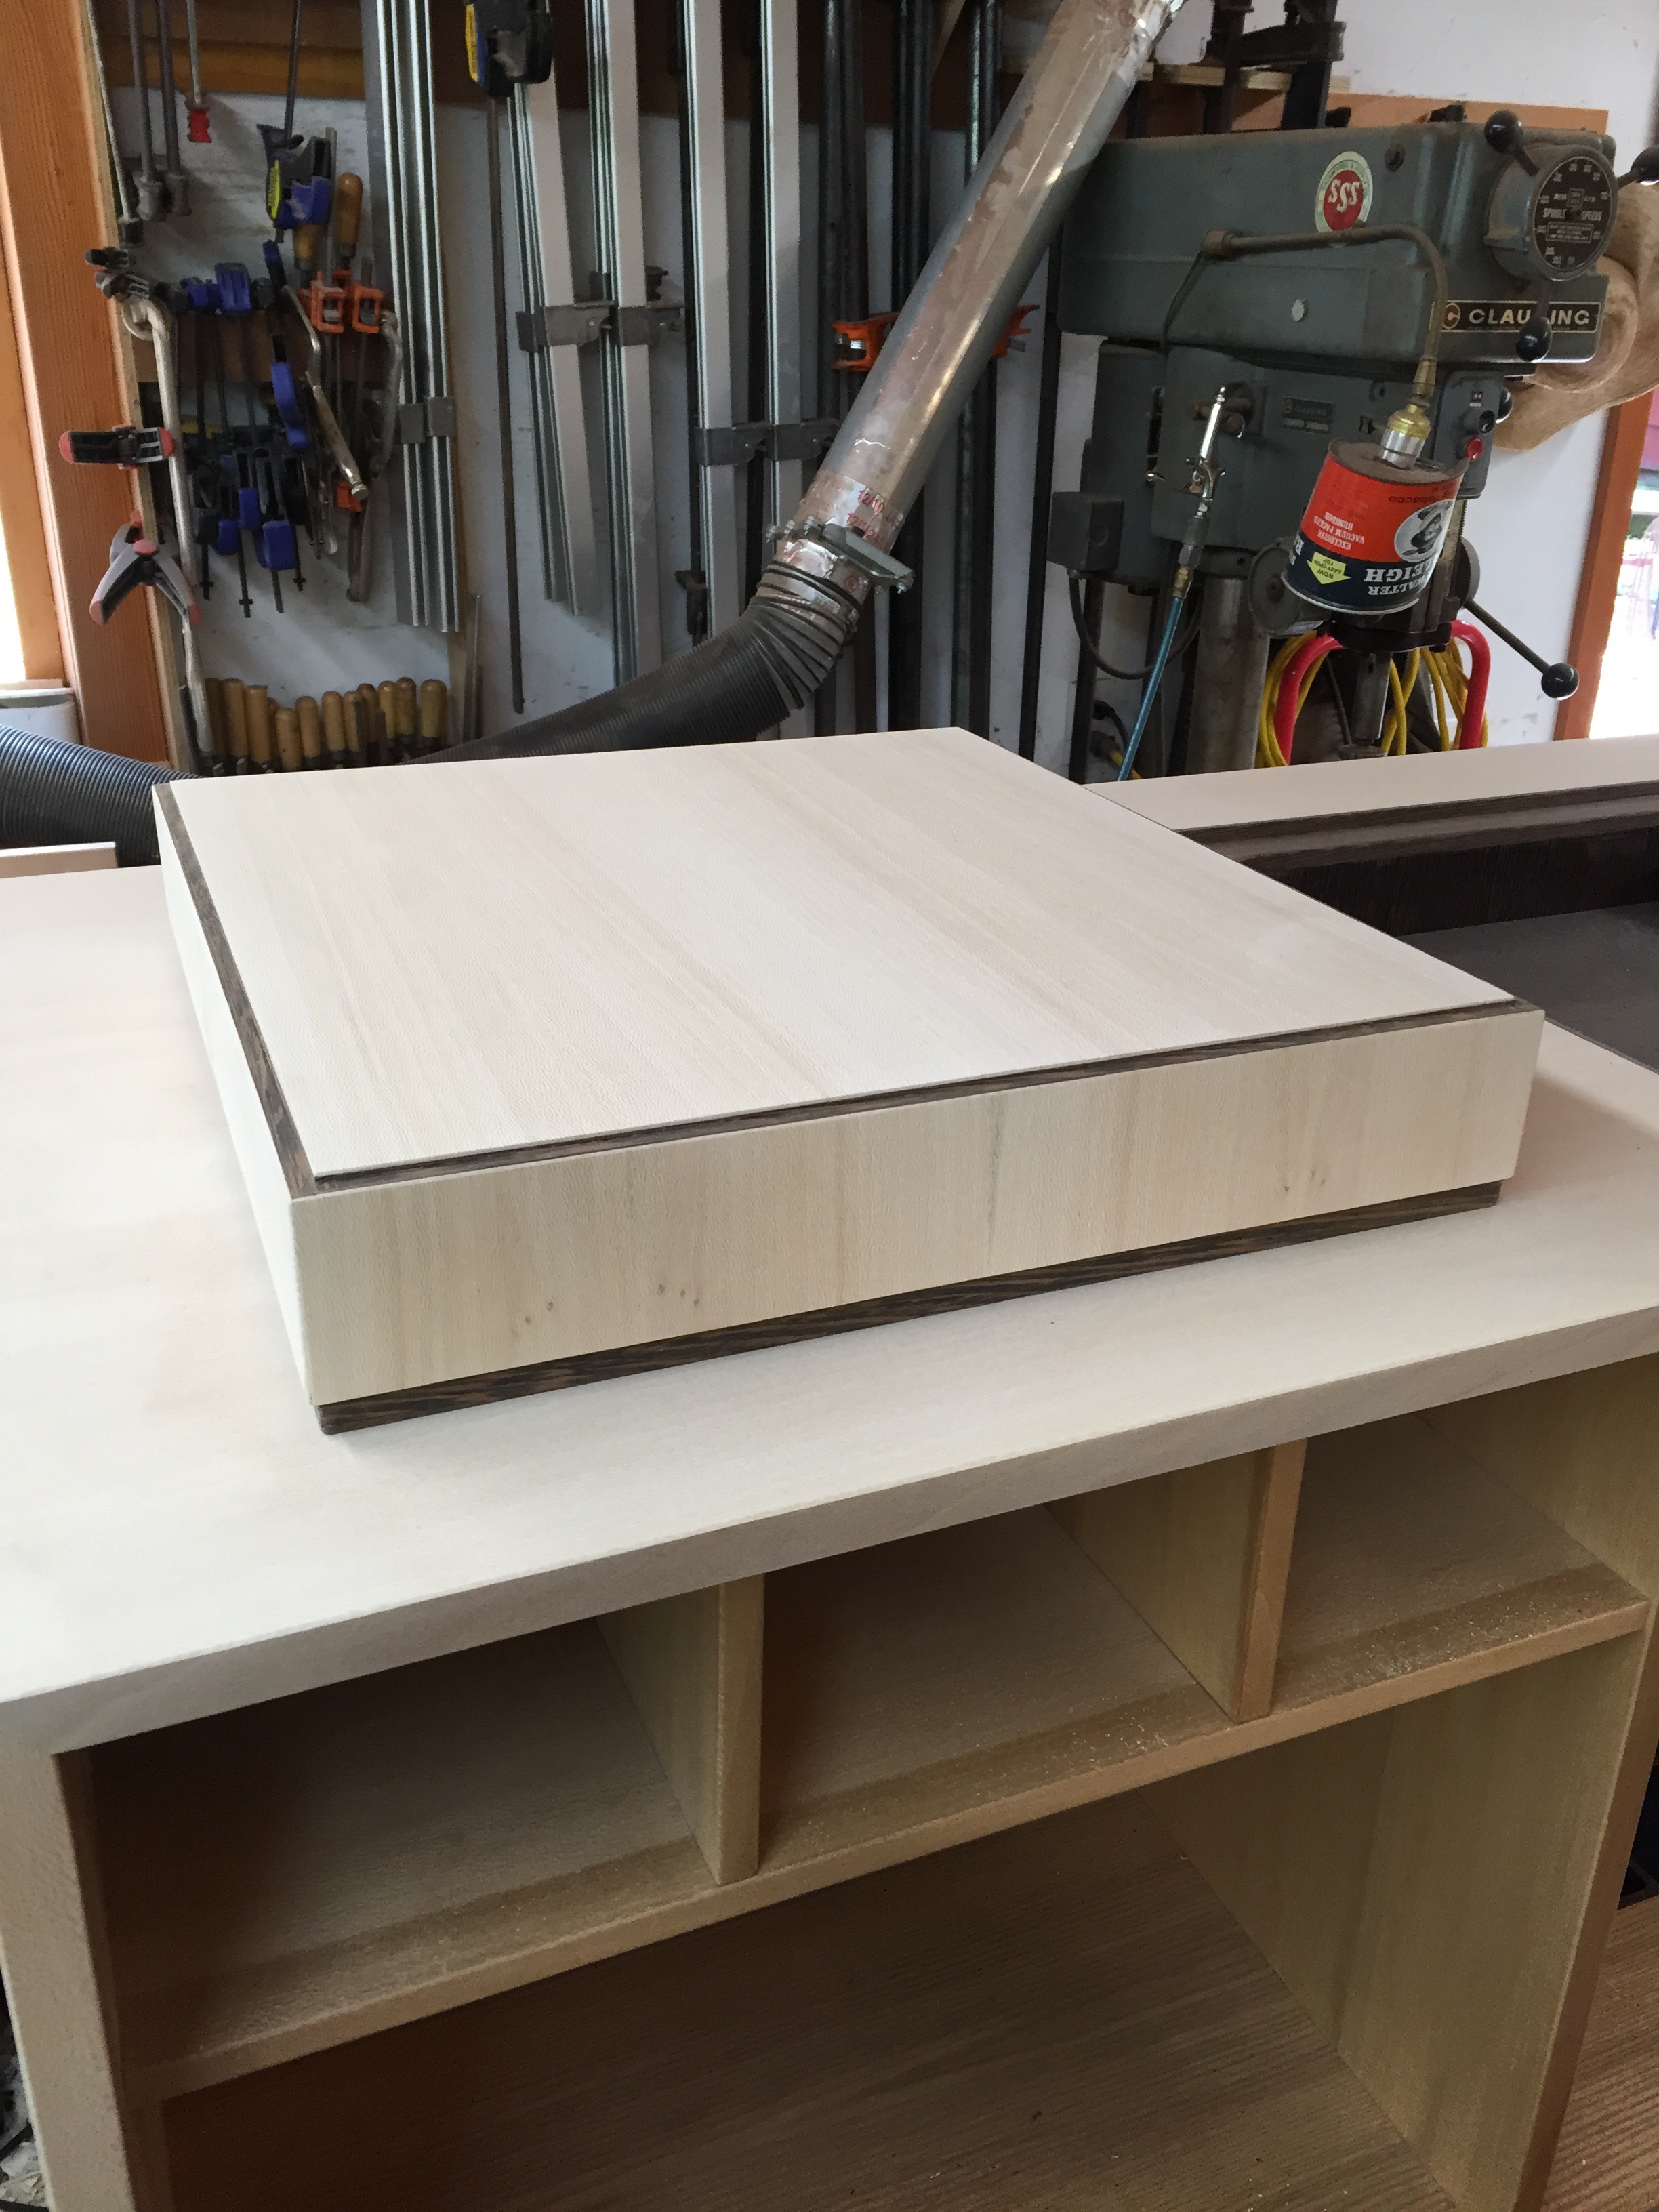
The turntable lid: light Sycamore with Wenge banding. This is achieved by edge-banding the plywood substrate with Wenge, and then veneering over the top, or "baking it in." After glueing up the lid, I use a very sharp router bit and my shoulder plane to remove the Sycamore and expose the Wenge that is underneath.
The doors are now complete, done in the same manner as the lid; a high quality plywood core with Wenge banding and covered with a Sycamore veneer. I then, with a very sharp bit, remove the Sycamore around the edge and give it the nice shadow line of Wenge. I like that this photo also shows the venting system with the vented rear door as well. Notice there are also audio/power ports that go to either side of the main bay.

The "handles" for the doors had to be flush, as the doors run past each other on tracks that are cut into the case. I played with many different ideas, but in the end decided to carve a scoop into the outer doors which would reveal Wenge, giving a nice contrasting detail.

The center doors share the same "scooped" handle, but it does not reveal Wenge, as I thought this would look to busy. The finished base is seen here sitting on top of the cabinet. Everything is ready for finish!

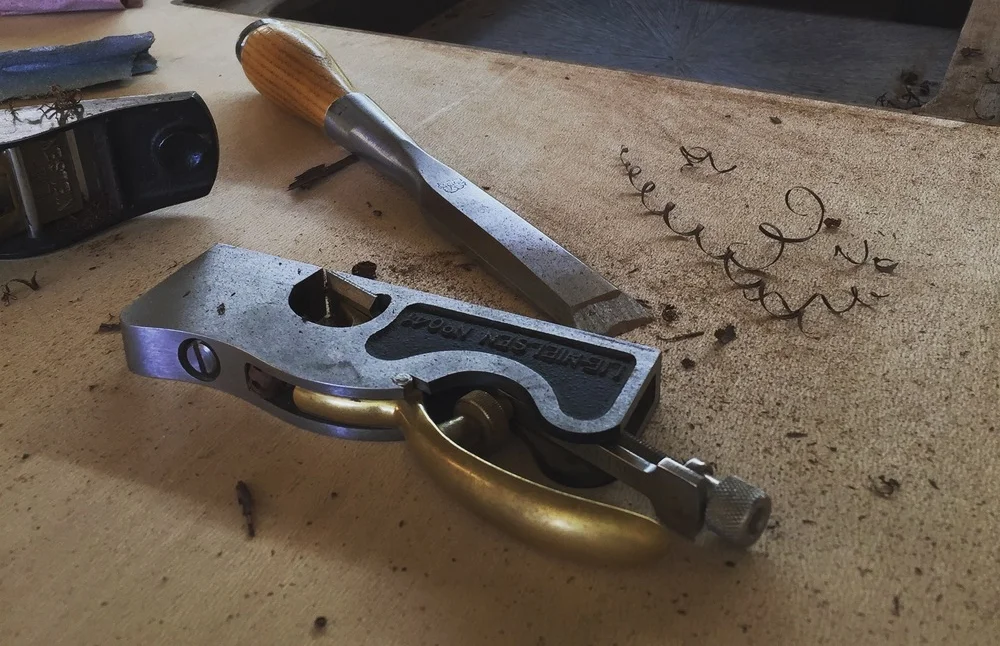
I make all of my own brass hardware. I purchase very heavy grade brass, and size it with my bandsaw and a collection of files. I use my drill press to mill holes and countersinks. I do this for a few reasons: one, the grade of brass hardware that can be bought off the shelf is very lacking, two - I prefer to create hardware that is specific to the use, and three - I think it just looks nicer for custom work.
The piece has now been oiled, the drawers fit, and the record storage dividers are being put in. The only thing missing from this picture (besides two more storage dividers) is the turntable lid port. It will hang just below the turntable and above the power amp.

Delivery day!

Pretty music!

The KDS Stereo Credenza at home, Marvin Gaye blasting from the speakers!
To see the fancy photo shoot for the KDS Stereo Credenza go here:
